Pictures


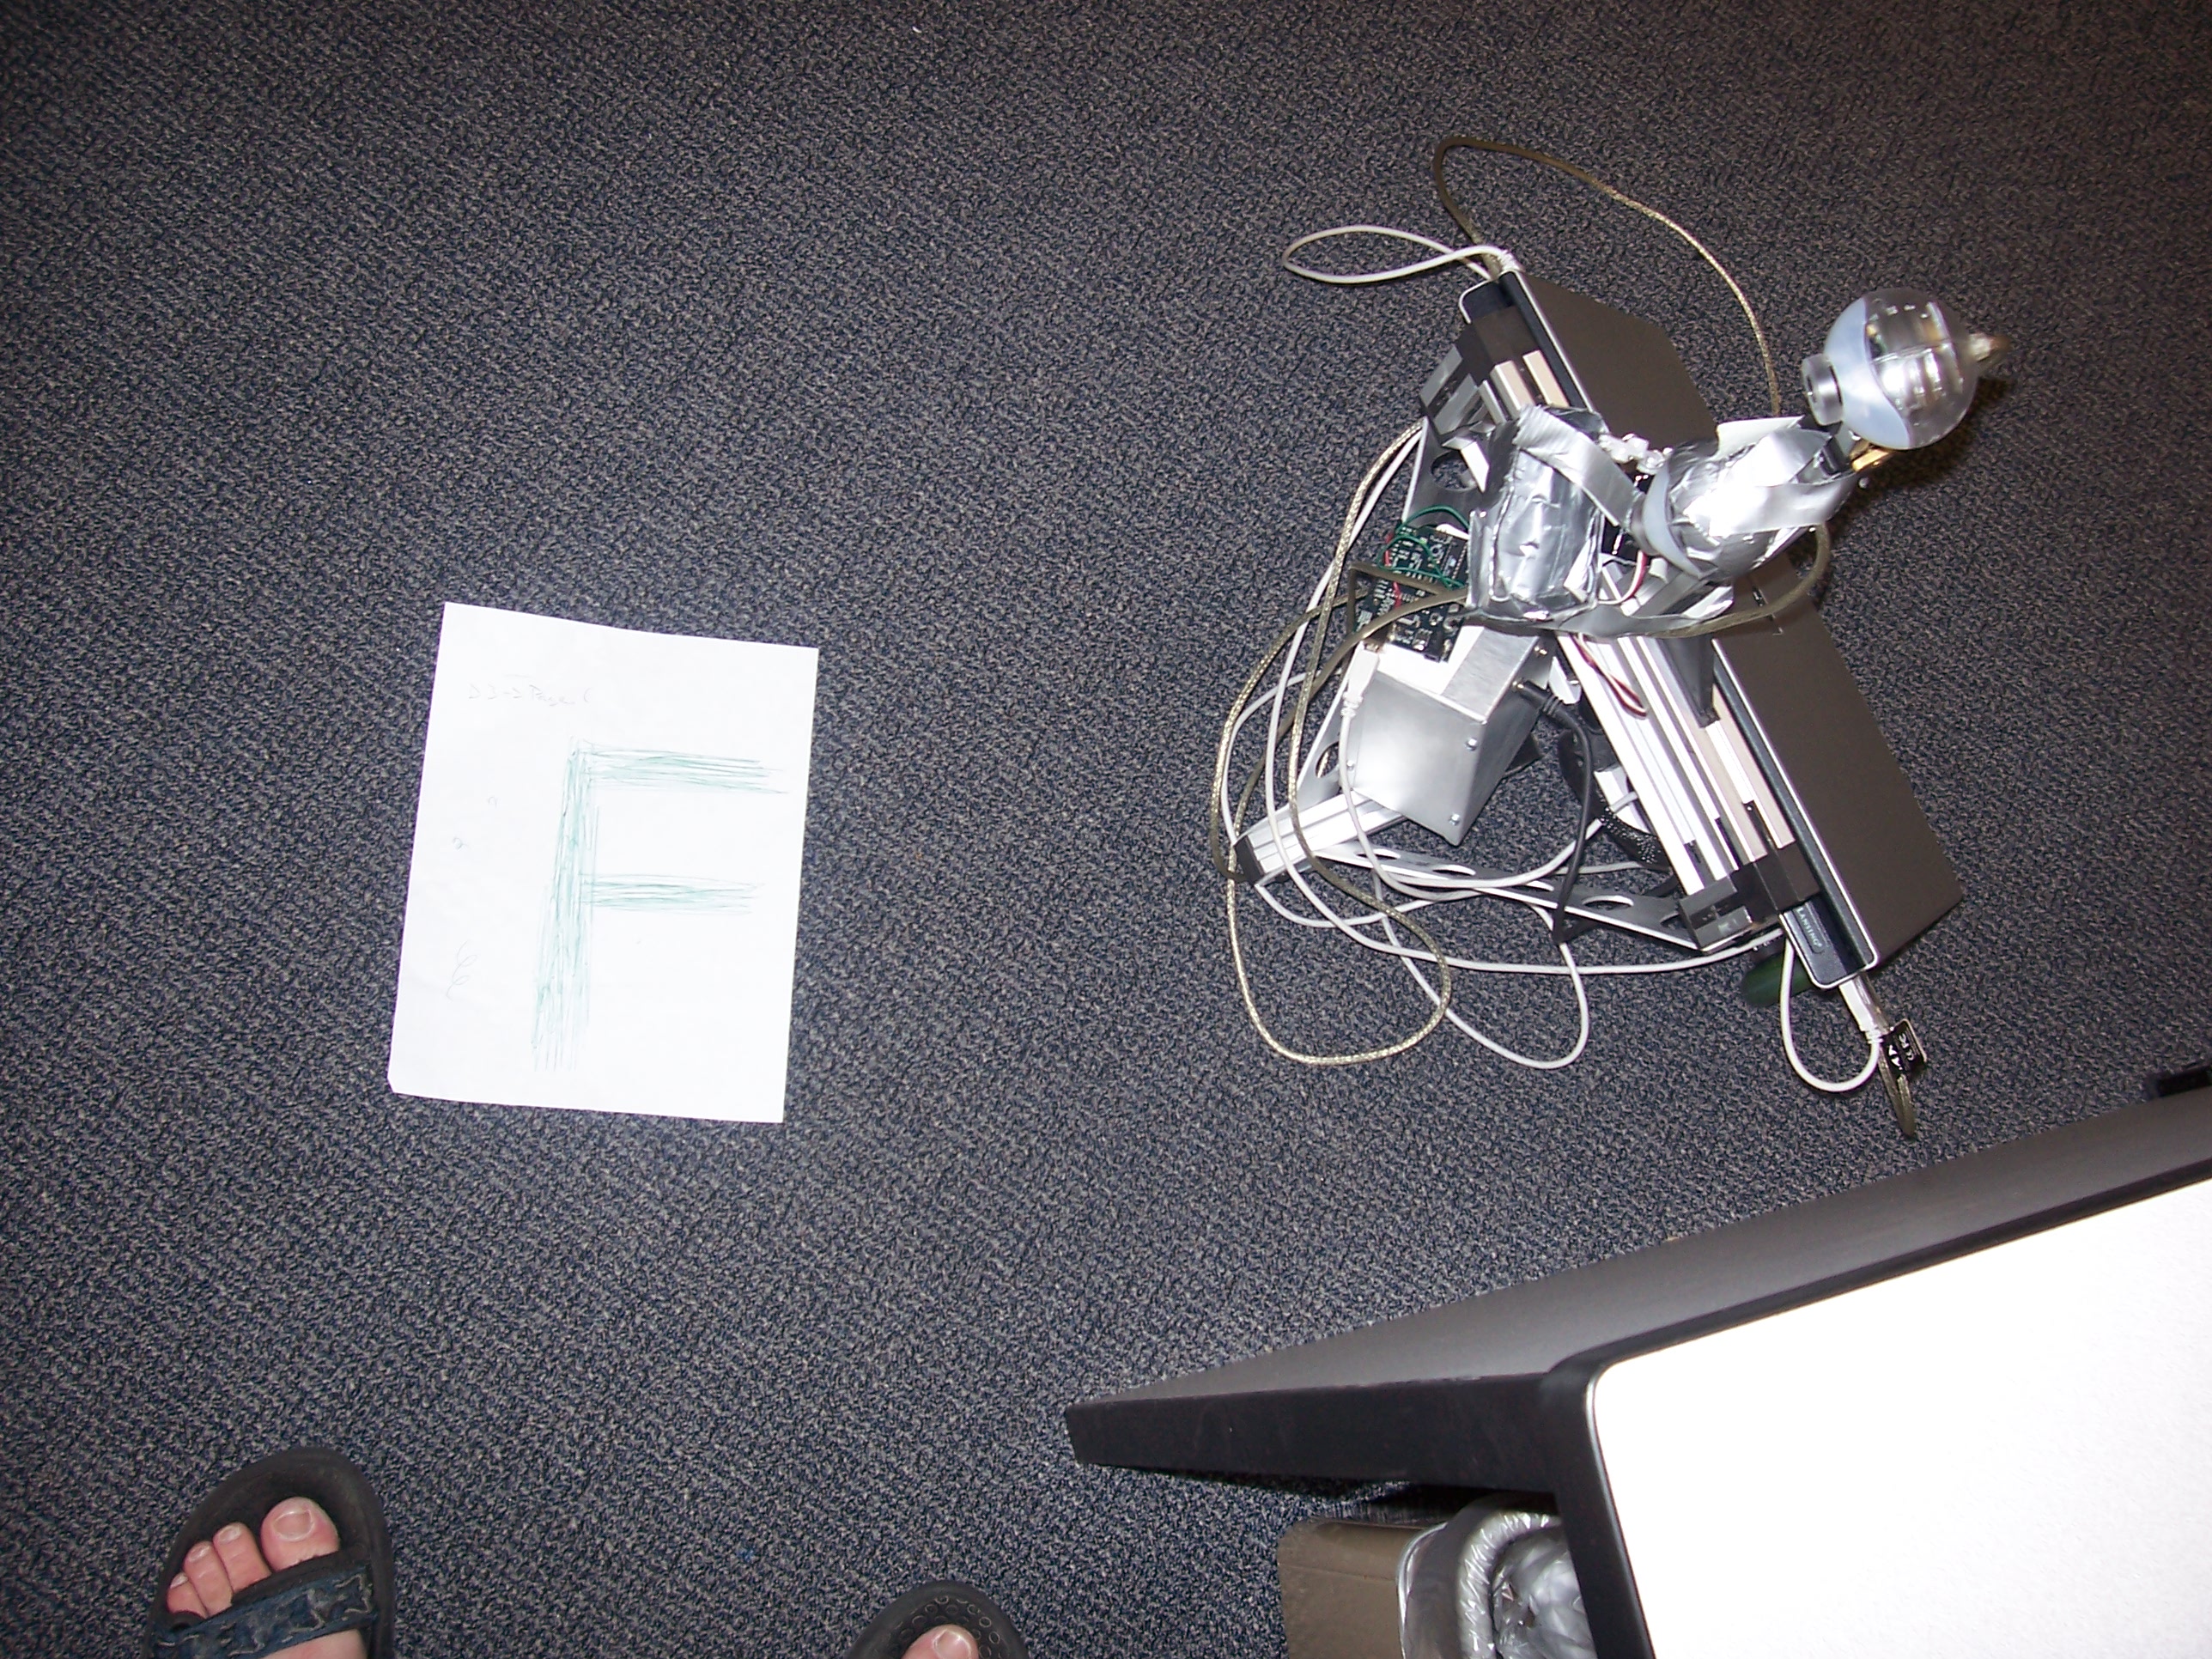
Our robot, top-down.

The two webcam "eyes" of our robot: the top one is
fastened to the top of the robot itself by a bolt, and
the other is held in place by duct tape.
The first camera is used to locate papers further away
from the robot, orient it towards them, and get them
in range of the lower camera.
The lower camera then causes the robot to center on
the document. Once the lower camera has centered, the
robot takes a picture using the higher-resolution
digital camera.


A piece of paper as seen by the lower camera, both
before and after image-processing. To preprocess the
image, we took the saturation and value of each pixel,
then set that pixel's blue channel to (value)6
* (1 - saturation)5, and zeroed out
the other two channels. This removed pretty much all
the noise in the image (that is, anything that wasn't
pure white), allowing us to run the Canny edgefinding,
contour-finding and polygon simplification algorithms
we used in our Clinic project, with some relaxed
constraints due to the image's lower resolution.

The Arduino I/O control board used to interface the
robot's laptop "brain" with the camera-triggering
servo.


This duct tape cradle holds the digital camera used to take the
final picture. While it keeps the camera in generally the
right place, it is bad at keeping it and the trigger arm
aligned with each other.